Showing posts with label desserts. Show all posts

Sunday, November 13, 2011

Nutella Mug Cake


I found out about mug cakes aka cakes baked in mugs a while ago. I was and am still intrigued by it. Don't you think it's so fun to be able to bake a cake in a mug? Definitely sounds fun to me! So it's a bit strange that I didn't try it earlier as it's super easy, very quick and I'll be able to get my endorphins fix in no time at all.

What do you know, I *finally* made it and the results is such a Hurray! I know i'm going to keep making it.

Cake mixture in the mug before baking:


Baked in microwave on high power for 1 and 1/2 mins:


Tadaaa! Oooey Gooeey Yummy, It's Ready!


So easy and so quick! Chocolatey and Rich!


The mug that I used was a little small, resulting in the 'chocolate explosion' above, but I still thought it looked appetizing with an artistic flair on the mug. Hahah! Bcos' baking is an art, isn't it? And so is cooking. :)

The husband who doesn't have quite a sweet tooth like I do, enjoyed it too. :)

Recipe's adapted from Family Kitchen

Ingredients:
4 tbsps all purpose flour
1/4 tsp baking powder
4 tbsps castor sugar
1 egg
1 tsp vanilla essence
3 tbsps cocoa powder
3 tbsps nutella
3 tbsps vegetable oil
3 tbsps chocolate milk
(it was more than 3 tbsps of milk for mine cos' I accidentally poured a lot more than 3)

Mix everything together in a large mug till smooth. Then bake in your microwave on high power for 1 and 1/2 minutes. The baking time depends on your microwave, you may need to increase it if needed. If yes, increase by 30secs duration.

Now, go and have ur endorphin-fix, the very nutella and chocolatey way.

The way I love it. :)

Wednesday, November 9, 2011

Oreo Pops

For the boy's 4th birthday in October, he's my FAVOURITE Libran, I decided to make oreo pops as 1 of the goodies for his goody bags. It's actually very simple, time is the most essential ingredient and a bit of trial and error is needed for the size of the oreo balls.

First up, crush the cookies including its cream centre till they become fine. Do ensure there are no big chunks cos' we need to shape the 'dough' into balls and we don't want to bite into huge chunks.


I used my braun handheld blender to blend the cookies. I placed the cookies in a tall measuring jar and blend the cookies uncovered. Since there was no cover, I had a bit of 'flying cookie' incident. I thought the jar was tall enough but apparently not enough to prevent any flying cookie. Lesson's therefore learnt, covered food processors are the best tools for blending the cookies.


In a separate bowl, beat softened cream cheese with an electric mixer. Then, add the blended oreo cookies into the cream cheese:

Knead them together till they become 'dough-like':


Then, Shape them into balls. The balls can't be too big, not the size of ping pong balls definitely. Perhaps a little larger than the size of marbles. Any bigger, the ball may slide down the lolly sticks or it may also crumble under the weight of the melt and sprinkles. Need some trial and error and agak2 here.


You can either refrigerate for 2 hours first or freeze for 10 to 15 minutes. I am kiasu, so I did both; I refrigerate for 2 hours and then move up to the freezer for 10 minutes. We need them to firm up so they don't crumble. But you should still be able to insert lolly sticks into the ball.

Remove from freezer, melt some chocolate, dip the edge of the lolly sticks into the chocolate melt and insert halfway through the oreo ball, making sure the ball does not crack:


When all's done, I chose to refrigerate again for 15 minutes.

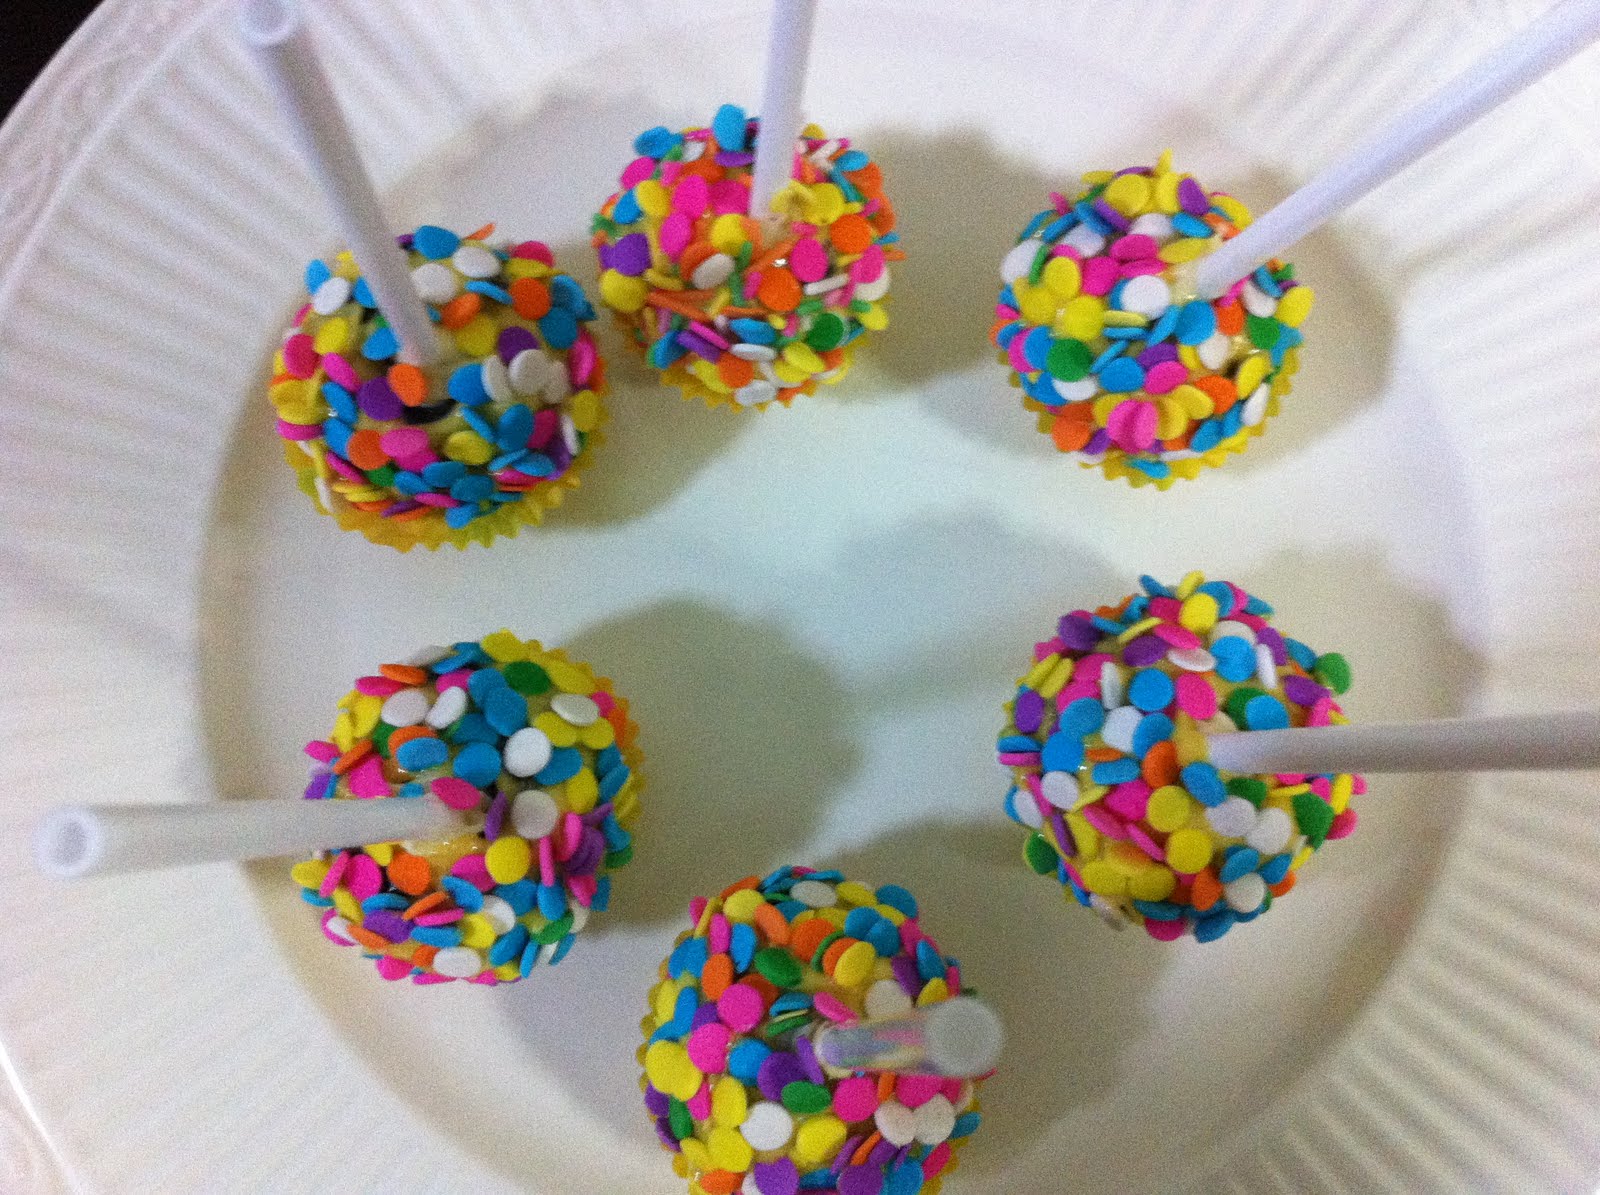
After that, melt some chocolate or candy melts and then start dipping the balls and sprinkle! This screams only one thing: FUN FUN FUN!!


Finally, all packed and good to go for the boy's goody bags!


For ~30 oreo pops, I needed:

3 packs of original oreos
226g of cream cheese
White chocolate, which I tinted with oil-based yellow colouring from wilton.
Lolly sticks
Sprinkles
All were bought from your trusty phoon huat. :)

Note: Chocolate needs to be melted the double-boiler way, making sure no water droplets get into the melt.

Other than the oreo pops, I also made chocolate muffins for the boy's goody bags, transformers-themed. But I guess that warrants another (picture) entry altogether.

Anyway, here's a peek:


Autobots, transform and roll out.

Was the boy happy? VERY VERY Happy with both his oreo pops and his transformers muffins.

What more can a mother ask?
:)))))))))))
actually a lot more but No.1 is always to:
BE HAPPY!

Monday, February 14, 2011

Nutella Bread Pudding


Nutella's one of my favourite snacks.

To-date, I do not know anyone who can resist nutella, ever. Not even the hubster, who doesn't have quite the sweet tooth like me. The hubster and the little boy love it by the spoonfuls.

When I was a little girl, I'd always save some of my pocket money to get my weekly dose of nutella in the small white pack from our trusty mama shop. Back in the mid-late 80's when I was still in primary school, it was around 20cents per pack. The small white pack will be spotless at the end of my devouring. It was such a treat for me. These days, I'll get them in the huge bottles because medium-sized ones just aren't enough.

I've also always been a fan of eggs and milk, basically dairy products are my sort of thing. Which also means bread pudding is also one of the desserts that I like cos' it's egg-y and milk-y and butter-y. I didn't think of making nutella bread pudding until I stumbled across ovenhaven's recipe here. She has cleverly rolled the breads instead of cutting them into squares and who can resist her gorgeous foodography?

After making it once, I became addicted to nutella bread pudding and had to make it every sunday for close to a month plus. Yes, you read it right. I was that happy with the recipe. Correction: I am *still* that happy with the recipe.

Now, try making it on your own and see if you'll get addicted? Or, perhaps it's just the chocolaty, gluttony monster me. :P


Ingredients:
4 slices of day-old bread
1 egg
1 cup chocolate milk
2 tsp sugar
Nutella

1.Preheat oven to 170C.
2.Spread Nutella over a slice of bread, roll it up, and cut into four rolls. Place the rolls into a casserole dish
3.In a bowl, whisk egg, chocolate milk and sugar.
4.Pour the mixture onto the rolls. Leave aside for about 5 – 10 minutes, for the mixture to be absorbed.
5.If desired, you may drizzle some Nutella on top.
6.Bake at 170C for 20-30 mins, depending on your preferred consistency. Leave to cool for about 5-10mins.

-------------------------------------------------

When I don't have chocolate milk in the fridge, I'll just use my plain fresh milk, whip in loads of nutella into the fresh milk till it becomes 'nutella milk.' Yumz!

Saturday, January 29, 2011

Cranberry Muffins


Another fuss-free bake is the trusty muffins.

If it means no mixer required and easy to clean-up, I am so in. But wait, let me clarify that we cannot, absolutely cannot use the mixer when making muffins. Overmixing will bruise the gluten and the muffins will come out tough. And we'll get very upset. Bcos' muffins, they are supposed to be fuss-free aren't they?

One of the questions abt muffins that came to my mind, and I'm sure others do too is what is the difference between muffins and cupcakes. After having baked both, muffins are usually more crumbly, less dense than cakes, although some muffin recipes do result in denser textures.

For me, I prefer my muffins to be crumbly, light, and moist, which is just the recipe I'm sharing with you here. I love having muffins at any time of the day too. If you ask me, I can eat my bakes for breakfast, lunch and dinner. If only the hubster and the boy can too. Hohoho! :P


Ingredients (All ingredients are at room temperature):
220g self-raising flour sifted
1/2 cup vegetable oil
3/4 cup fresh milk
3/4 cup castor sugar
1 egg, lightly beaten
1tsp vanilla essence
3/4 cup dried cranberries

i. Preheat oven to 180deg C
ii. Mix all dry ingredients together and make a well in the center.
iii. Mix all wet ingredients together and pour into the well. Add the cranberries. Mix until combined but do not overmix.
iv. Place in greased muffin tins or cups and bake for 20minutes or lightly browned.

It's important not to overmix so as not to bruise the gluten. It'll be good to use a flexible spatula and a large enough bowl, when mixing too.

I also realized that when baking muffins, when ingredients used are at room temperature, it makes for a better texture. The batter for this recipe is a little runny compared to other muffin recipes, and I must admit that my panic button was triggered a little. My worry was unfounded as they came out moist and crumbly, just what I like. The muffins also remained moist the day after, which is also quite a rarity for muffins.

I'd usually reduce the amount of sugar used but I did not this time round. Since I used cranberries, the sugar balances the tanginess of the cranberries in the muffins.

So..Care for some cranberry muffins with a cup of hot cocoa on this cool, and wet Saturday afternoon...? :)

Now, i'm also coveting for a crown muffin pan...


Recipe's adapted from here


Wednesday, January 5, 2011

Fudge Brownie

It's still the first week of 2011, hope it isn't too late to wish one and all, a great 2011!

And for me, what better way to start the year with some desserts, hoping 2011 will be a sweet year ahead... :)

A dessert that I can never resist is almost always brownie, anything brownie. If I see a brownie in a menu, I'd be quick to order it. It's also very easy to bake, one of the quick-fixes that I'd usually bake for myself.

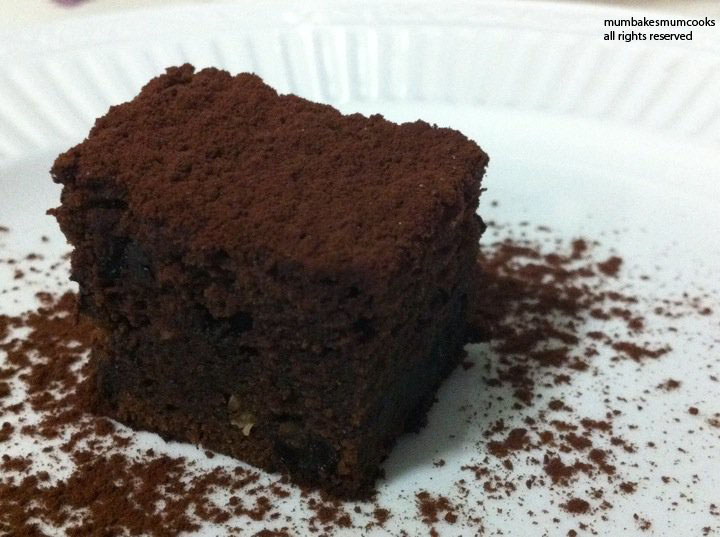
Here's my fudge brownie, to usher in 2011:


Recipe is adapted from here

Ingredients:
140g unsalted butter at room temperature
200g dark eating chocolate - I used Old Gold Dark Chocolate with Roasted Almonds
85g all purpose flour - sifted
1/2 cup brown sugar
2 tsp. vanilla essence
2 large eggs + 1 egg yolk at room temperature - to beat lightly
3/4 cup chocolate chips

1. Preheat oven to 180deg C and grease a square pan or rectangular pan. I used a square pan.
1. Melt chopped butter and chocolate in saucepan and let it cool slightly
2. Then add in vanilla essence, sugar, egg, flour and chocolate chips. Mix everything together.
3. Then pour into prepared pan and bake for 30-35minutes until the toothpick comes out moist.
4. Serve warm with vanilla ice cream or cut into small rectangular pieces.


I've only used 1/2 cup of brown sugar so that it won't be too sweet. It is indeed packed with an intense chocolate flavour even though I used only 1 type of chocolate. It's also dense but very moist still. Very yummy when topped with Vanilla ice cream.

I've also added chocolate chips to the recipe. The choc chips used become the 'mini molten lava' within the baked brownie, so do not compromise on the chocolate chips.